 ( 125 ) 18-OCT-2015
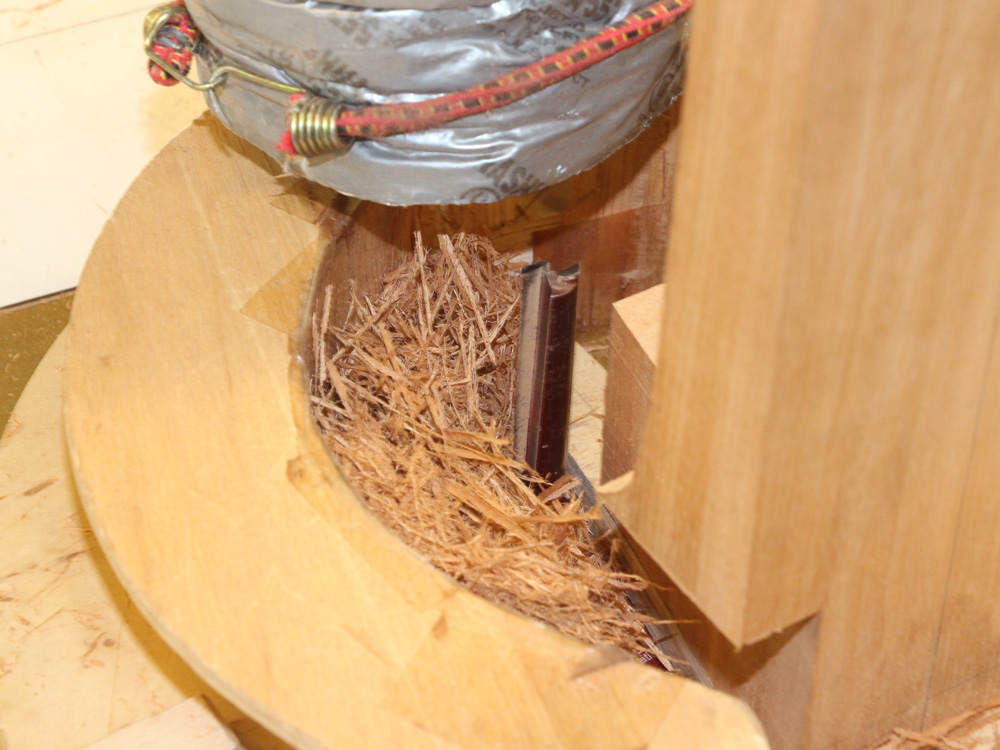
I am going to route out the heel channel in the rim. Here I have mounted the rim to this router template.
( 125 ) 18-OCT-2015
I am going to route out the heel channel in the rim. Here I have mounted the rim to this router template.
 ( 126 ) 18-OCT-2015
I will route the channel 1 " deep.
 ( 127 ) 18-OCT-2015
 ( 128 ) 18-OCT-2015
 ( 129 ) 18-OCT-2015
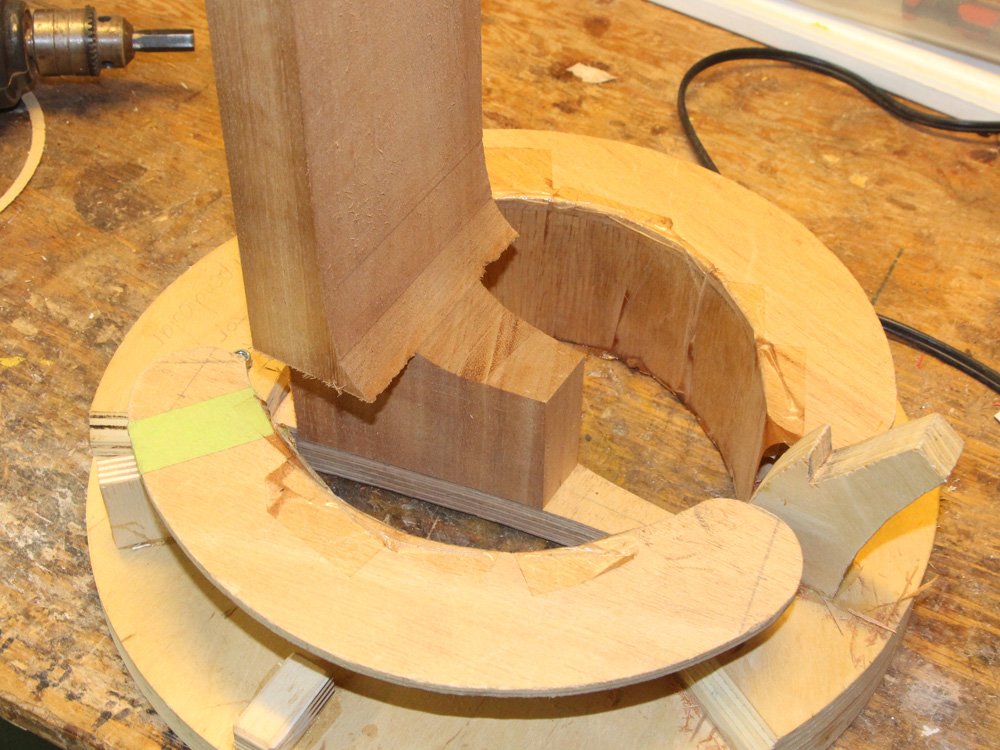
The channel has the same profile as the shape of the neck. The neck will be framed by binding to hide the gap.
 ( 130 ) 18-OCT-2015
 ( 131 ) 18-OCT-2015
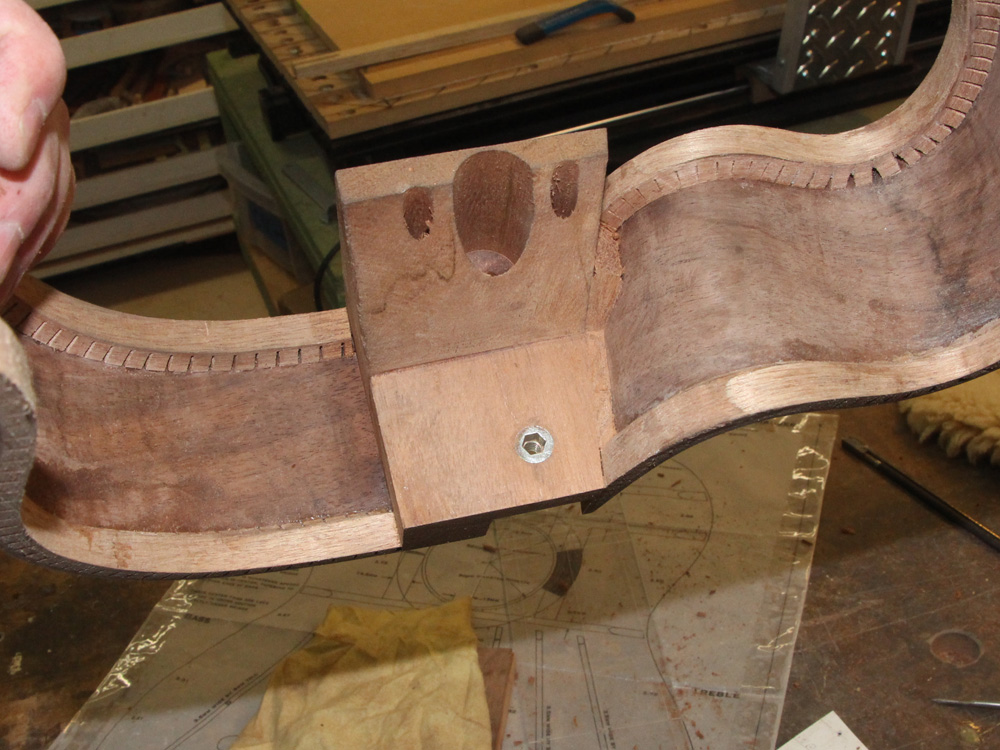
Here I am drilling the holes for the adjustment and attachment hardware in the heel channel.
 ( 132 ) 18-OCT-2015
Two 1/x20 wood inserts in the face of the channel for yaw control, and one 1/4x20 wood insert from the rear for the angle adjustment.
 ( 133 ) 18-OCT-2015
The set screws and bolts are accessed from the rear of the heel plate.
 ( 134 ) 18-OCT-2015
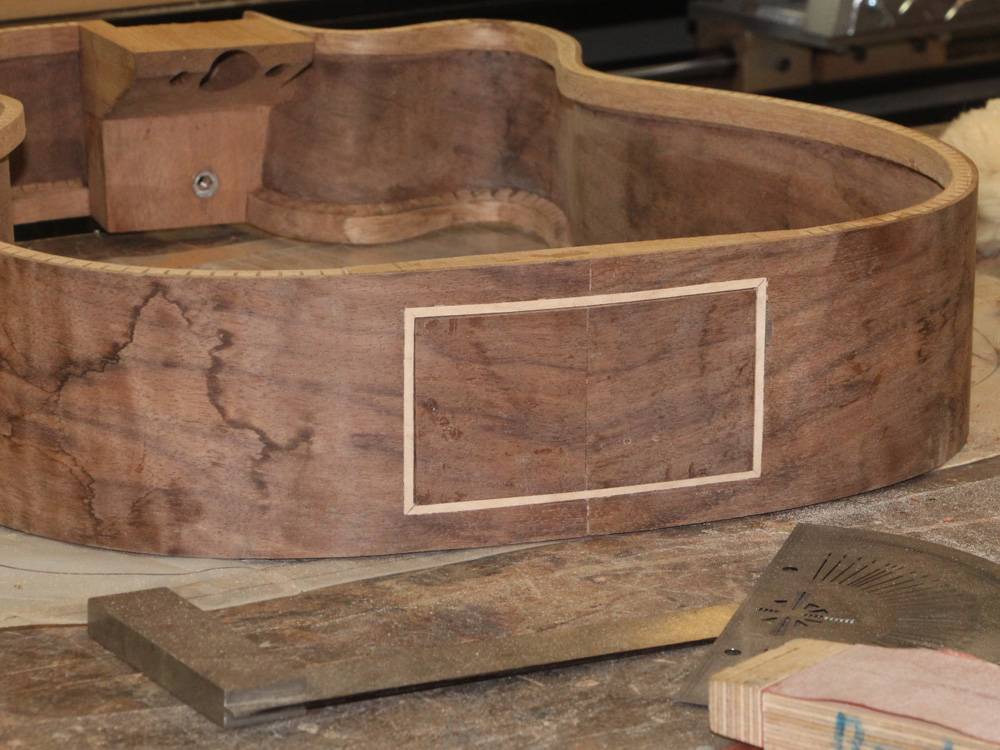
Next I have carefully cut out the the rear access plate from the end of the guitar.
 ( 135 ) 18-OCT-2015
 ( 136 ) 18-OCT-2015
I am gluing in a maple frame to fill the kerf.
 ( 137 ) 18-OCT-2015
And then a back stop for the hole plate.
 ( 138 ) 18-OCT-2015
 ( 139 ) 18-OCT-2015
Now I mount a brace blank on the shaping template.
 ( 140 ) 18-OCT-2015
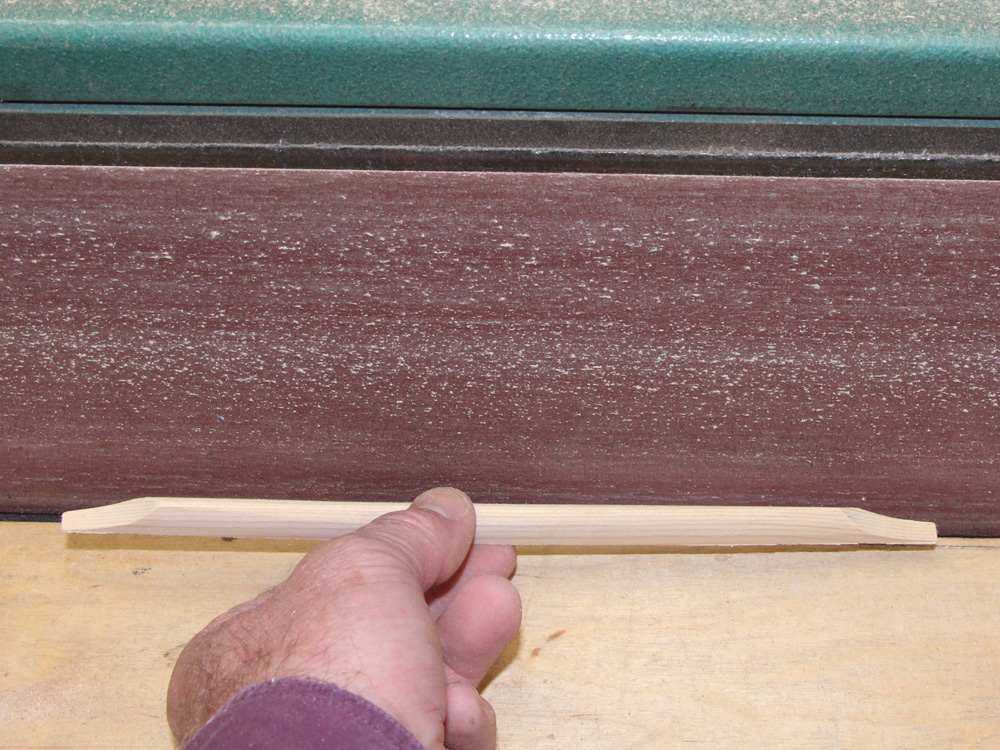
And I use the template to shape the blank. I set the platen on an angle to limit the loading on the sand paper.
 ( 141 ) 18-OCT-2015
It will be a perfect fit.
 ( 142 ) 18-OCT-2015
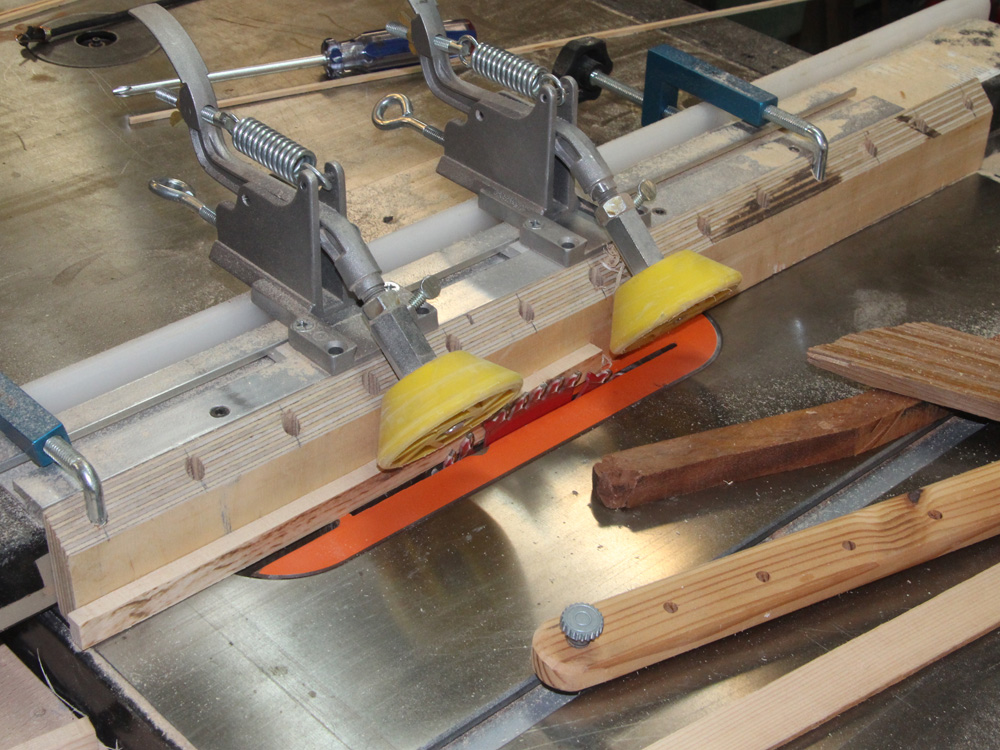
I next used the table saw to dimension the thickness the of the brace.
 ( 143 ) 18-OCT-2015
I used the belt sander among other things to shape the braces.
 ( 144 ) 18-OCT-2015
 ( 145 ) 18-OCT-2015
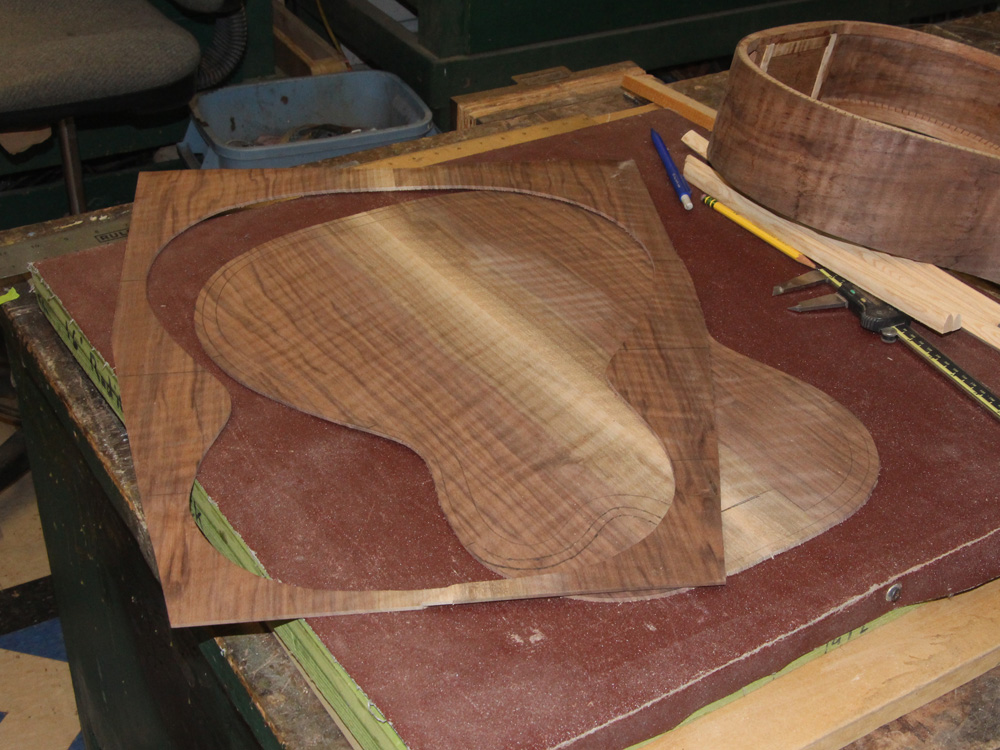
Now I lay out the shape of the rim on the back plate.
 ( 146 ) 18-OCT-2015
And cut it out with the bandsaw. I leave a 1/4 inch guard excess around the perimeter.
 ( 147 ) 18-OCT-2015
 ( 148 ) 18-OCT-2015
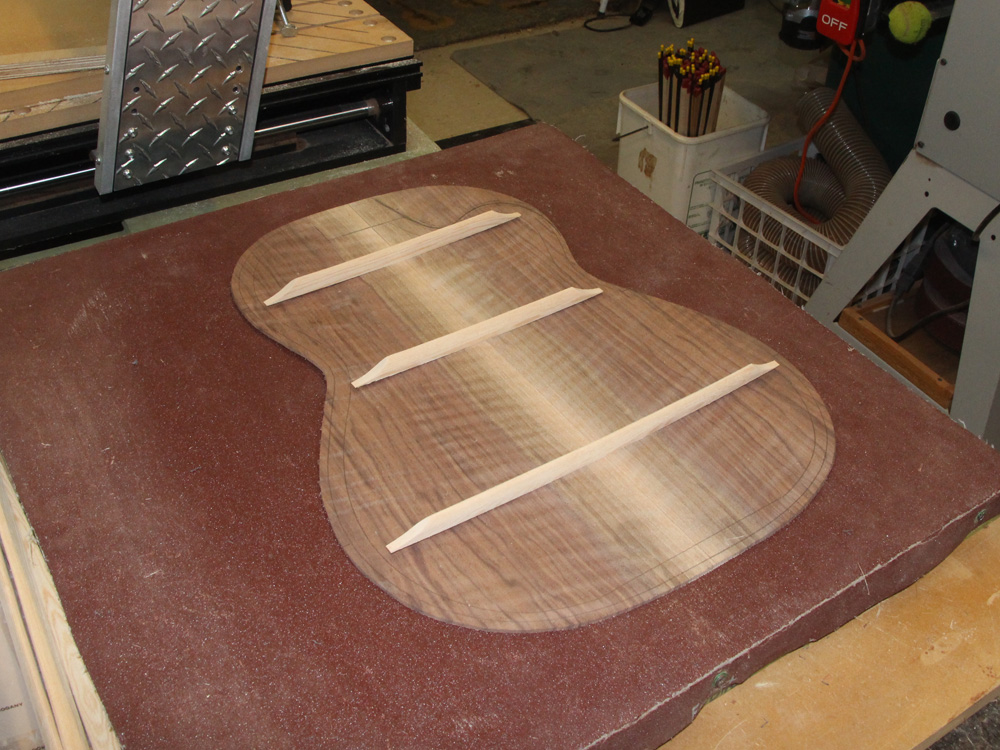
Placing the bracing.
 ( 149 ) 18-OCT-2015
And checking to make sure everything fits.
 ( 150 ) 18-OCT-2015
 ( 151 ) 18-OCT-2015
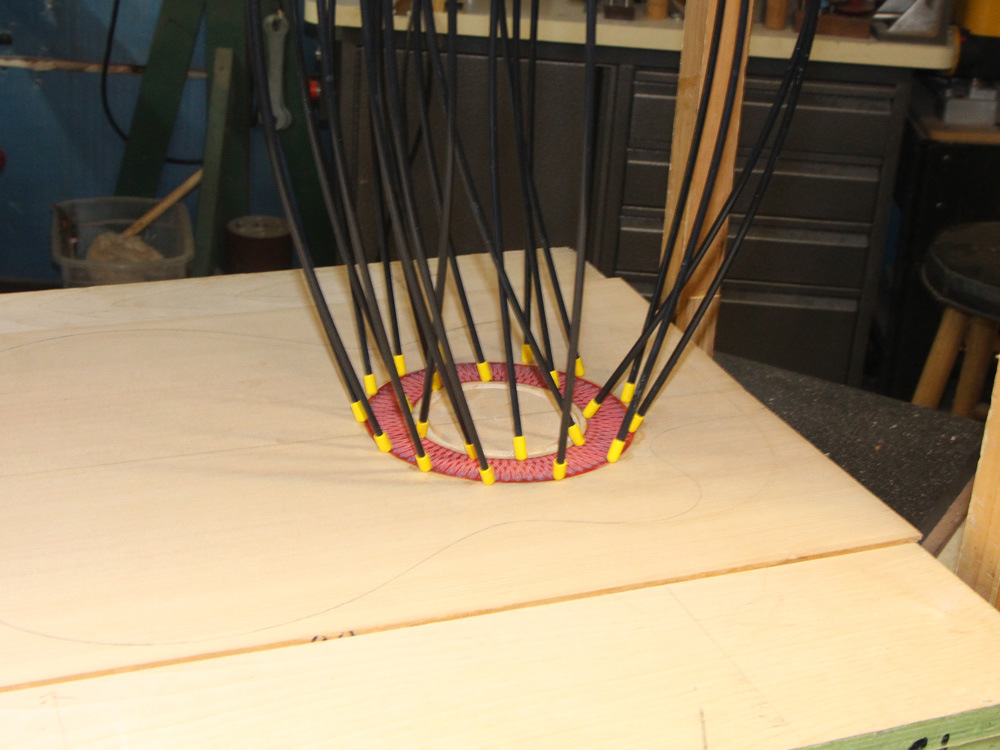
To glue the braces in place I use a go-box.
 ( 152 ) 18-OCT-2015
Flexible rods push in just the right places.
 ( 153 ) 18-OCT-2015
 ( 154 ) 18-OCT-2015
 ( 155 ) 18-OCT-2015
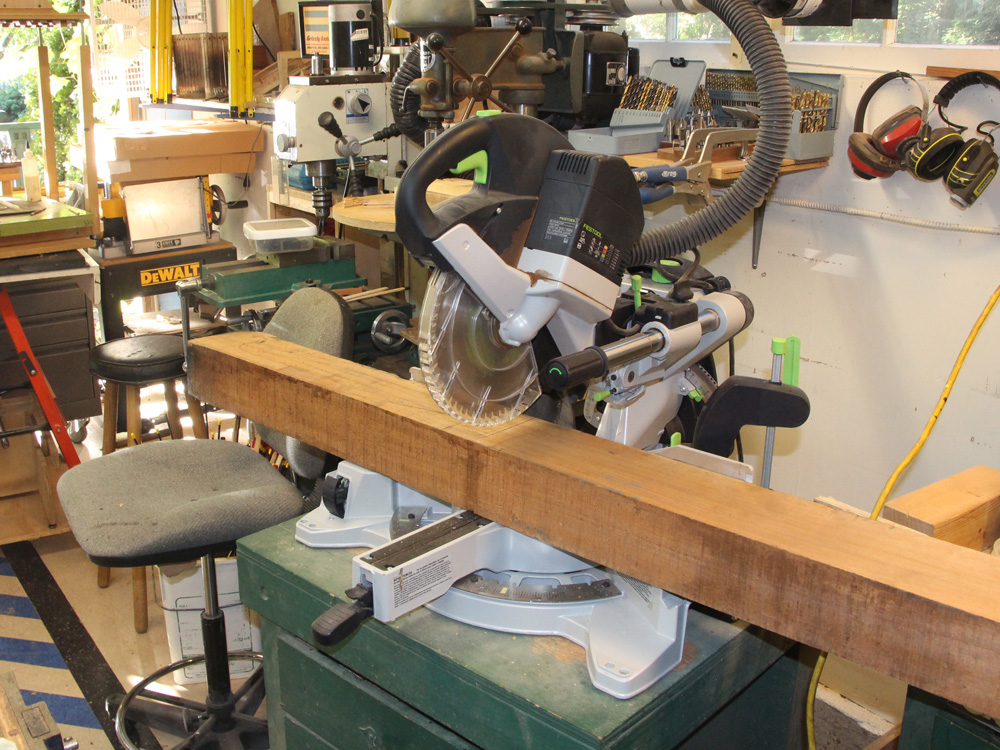
Here I am trimming off a piece of Honduran Mahogany for the neck blanks.
 ( 156 ) 18-OCT-2015
Carefully laid out and cut wit the band saw.
 ( 157 ) 18-OCT-2015
I get two blanks from each piece of wood.
 ( 158 ) 18-OCT-2015
I first trim the headstock so the platen for the fretboard is the right length.
 ( 159 ) 18-OCT-2015
The Miter Saw trims the end of the heel.
 ( 160 ) 18-OCT-2015
To create the heel I mount the neck blank in the template fixture.
 ( 161 ) 18-OCT-2015
And I use the router table to trim the sides.
 ( 162 ) 18-OCT-2015
 ( 163 ) 18-OCT-2015
 ( 164 ) 18-OCT-2015
I drill a channel and install a barrel bolt in the heel. This will be used to hold the neck to the body.
 ( 165 ) 18-OCT-2015
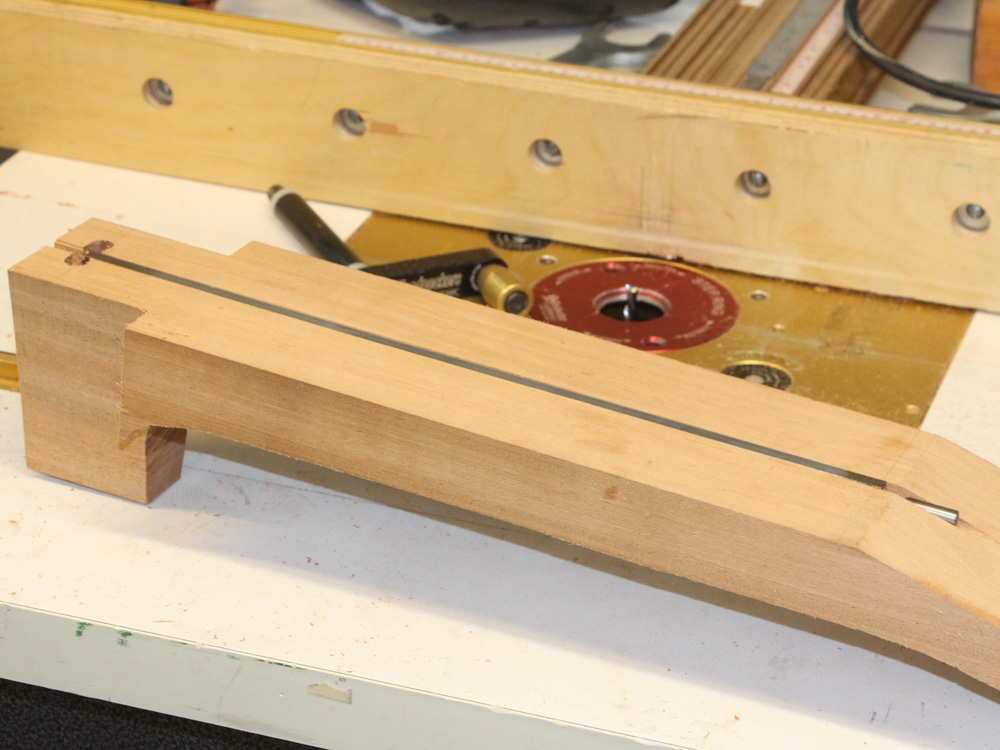
I also use the router table to route a channel for the double action truss rod.
 ( 166 ) 18-OCT-2015
Perfect fit.
 ( 167 ) 18-OCT-2015
Here I am gluing a Red and Blue layer of maple veneer together for the rosette.
 ( 168 ) 18-OCT-2015
I use my CNC router to create the rosette.
 ( 169 ) 18-OCT-2015
 ( 170 ) 18-OCT-2015
The Go-box is used to glue the rosette into the top plate.
 ( 171 ) 18-OCT-2015